


- All
- Bathroom Remodel
- Bedroom Remodeling
- DIY vs Contractor
- Fire Place Remodel
- Flooring Contractor
- Flooring Remodel
- General Contractor
- Home Office Remodel
- Home Remodel
- Home Remodeling
- Home Weatherproof
- Insulation Efficiency
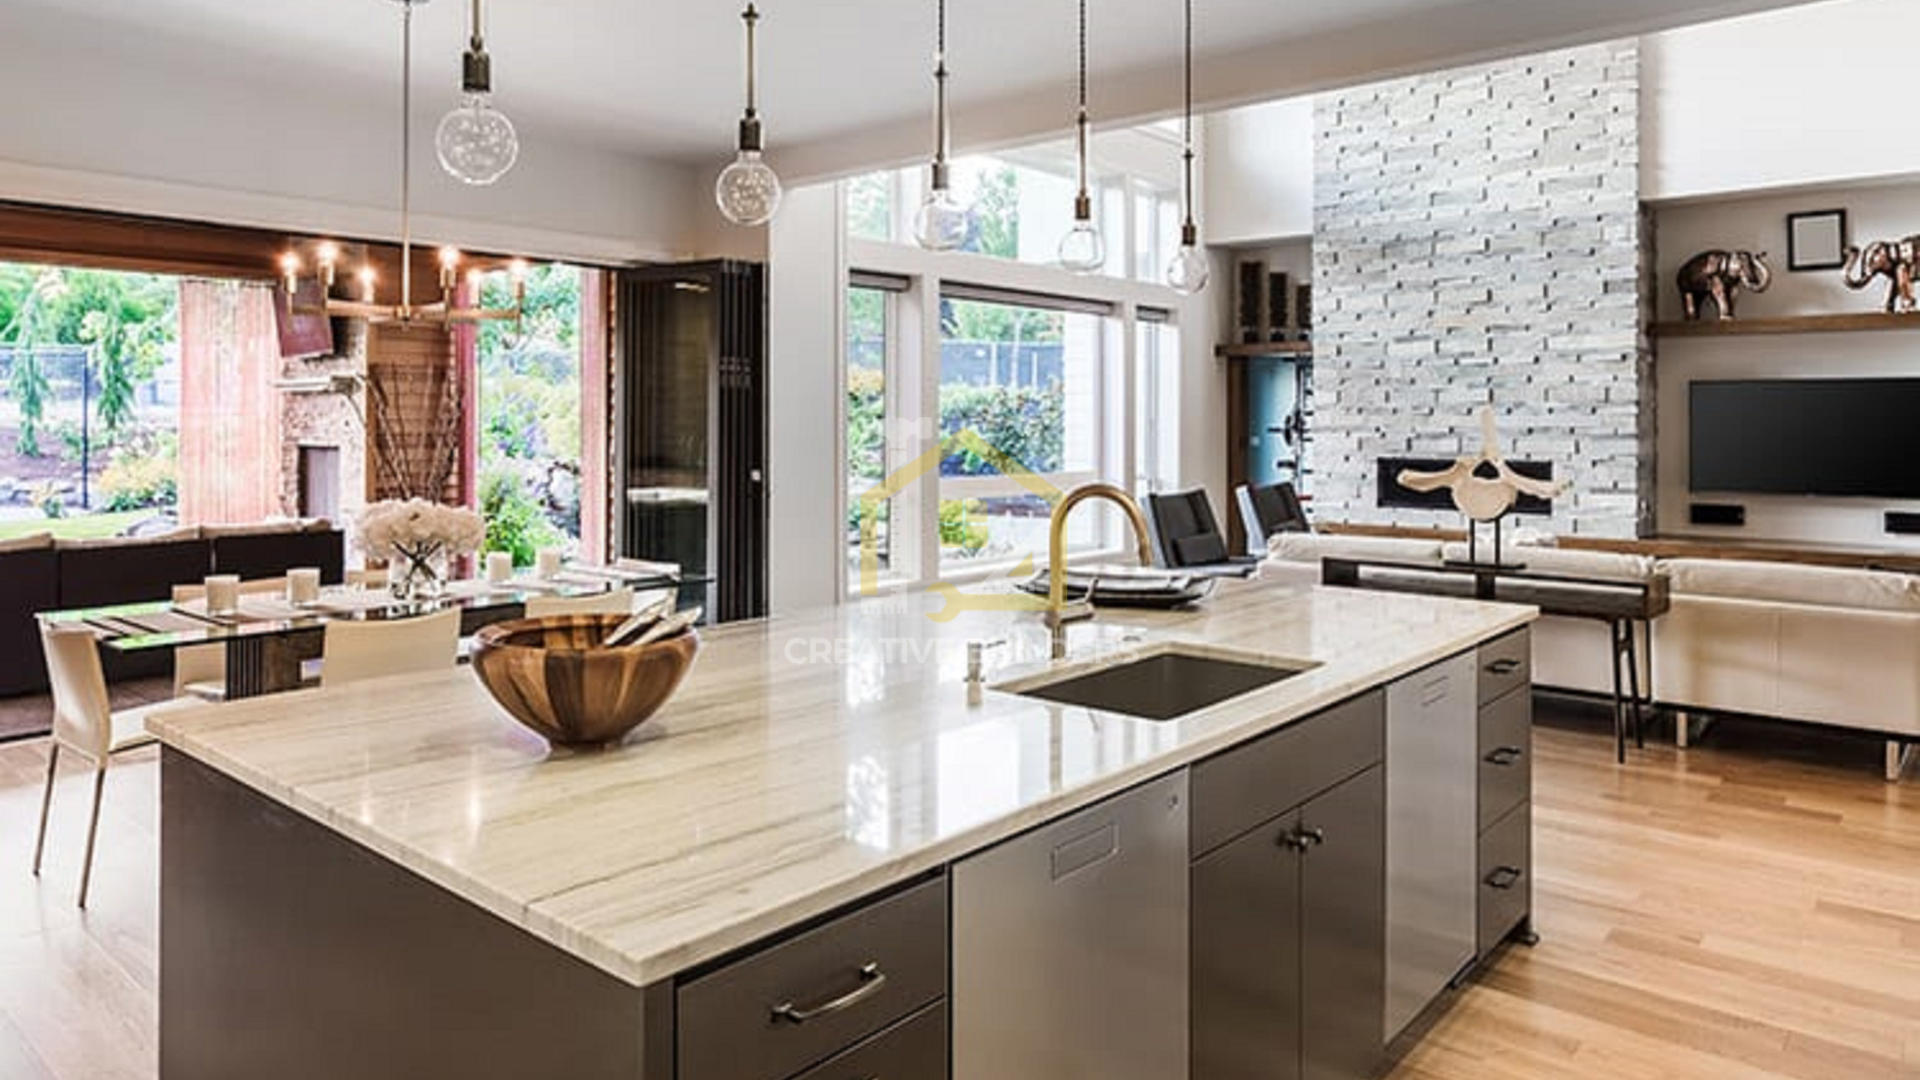
- Kitchen Cabinetry
- Kitchen Remodel
- Kitchen Remodeling
- Mistakes to Avoid
- Neighborhoods in Seattle
- Outdoor Remodel
- Pergola Installation
- Pros & Cons
- Remodeling Articles
- Remodeling Contractor
- Remodeling TIps
- Room Addition
- Small Bathroom Remodel
- Suite Addition
- Washington Remodel
- Winter Proof Home
- Wood Flooring

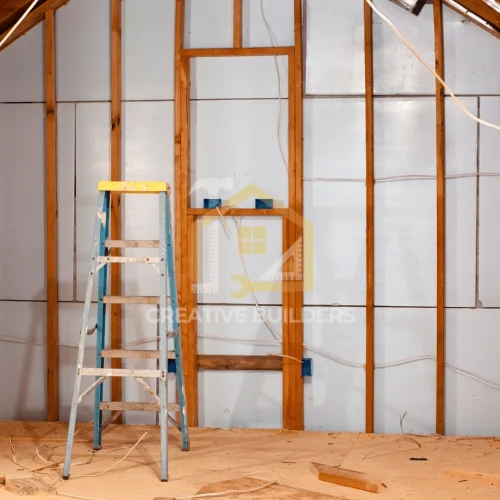
DIY vs Hiring a Remodeling Contractor Thinking through DIY vs hiring a remodeling contractor isn’t just about labor costs. It’s...
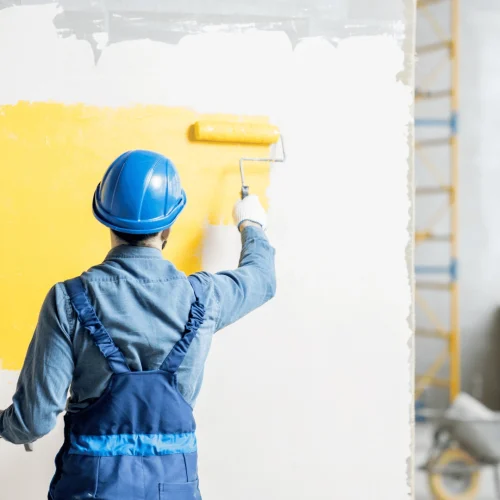
5 Low-VOC Paints: Why They Matter Choosing Low-VOC paints is one of the fastest, highest-impact ways to improve indoor air...
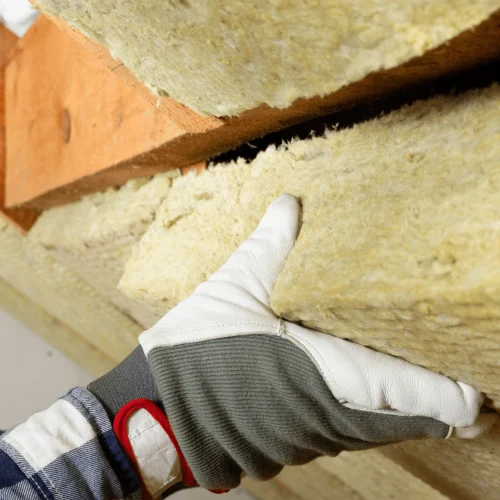
5 Insulation Tips for Energy Efficiency In Seattle’s climate, proper insulation for energy efficiency is crucial. Not only does it...

5 Smart Home Technology Upgrades During Remodeling Remodel time is the perfect moment to hard-wire the brains of a smart...

8 Benefits of Hiring a Local Seattle Contractor Local Seattle contractor advantages go beyond convenience they directly impact permit speed,...

5 Questions to Ask Before Hiring a Contractor Smart Homeowners Start Here Hiring a contractor isn’t just about the lowest...
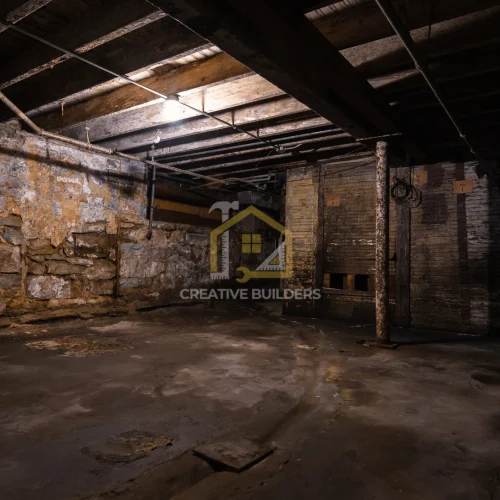
5 Must-Know Pros & Cons of Basement Remodeling Pros & Cons of Basement Remodeling: If you’ve got unused square footage...
5 Essential Steps for Planning a Guest Suite Addition Zoning, Permits & Utilities: The Seattle Checklist Planning a Guest Suite...
Carpet vs Wood Flooring for Bedrooms Carpet vs. Wood: Which Bedroom Flooring Fits Your Lifestyle? Choosing between wood flooring for...